Digital video and digital photograph formats are so close, and yet so far away.
On many cameras like the Nikon D90 I use, the difference between capturing one or the other is a switch or a button away, and destinations for the content like Flickr do little to distinguish the two formats. However, when you get the memory card back to the computer what you do with them and how you process the captured files is worlds apart. I don’t have a handy solution to process images and video in the same way, but here’s one way to help the management of the files by using a still reference photograph as a hook for the metadata though our workflow from acquisition right through publishing onto web sites.
Creating a Handle For Data — The Reference Photo

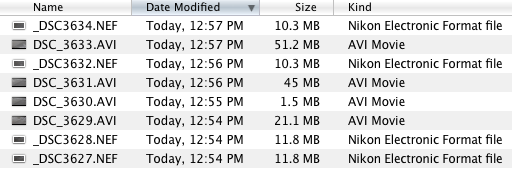
It starts with the still photograph. We don’t need this file to be pretty, but it will store shooting metadata in the EXIF info like focal length to capture time to keywords we need this handle and be used to transfer metadata from app to app. The habit I’ve gotten into is to take a still photograph at the end of a video clip. This can be a JPG or a RAW file, a JPG may save some time and drive space later on. Take the photo with the same focus, aperture, iso, lens, etc as part of your video. On the Nikon D90 its just a matter of pressing the shutter which will end the video and take a single frame shot. (A shot at the start of the video works just as well).
Library Management
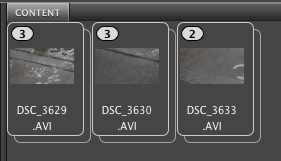
Copy both the reference photos and video files onto your drive and lets gets started with adding metadata. If you’re an Adobe Bridge user you can start right inside of Bridge and open up the folder with your files. Tag the images similarly, add titles or metadata presets, etc. Rate your videos and do other things you’d do here as normal. Then “group” the associated files as a stack to keep them together [Stacks > Group as Stack].

If you’re a Lightroom user you can import the reference photos and tag them, then open the video in Bridge and copy the IPTC Keywords field or other metadata from the photo to the video. Or if you don’t want the reference photos in your main catalog you can export your keywords list [Metadata > Export Keywords…] then load into Bridge to keep things consistant.
End result of either process is you should have a photograph and video similarly tagged, managed and searchable on your computer. Now you can search all your content – video or photo – for “rain”. Just as important, if you want to repeat a style you can look up what lens or aperture you used in a video by checking the associated reference photo!
Getting Video Metadata Onto Flickr
So we know how to export and upload our processed, titled, keyworded & geotagged photo to Flickr. However, uploading the finished video clip loses everything we’ve tagged.
To fix this we can upload both the JPG we’ve created for reference as well as the final video clip at the same time. Right in the Flickr Uploadr we can copy and paste some information like Title and Tags from one item to the other. If that’s enough you can delete the photo from uploader and only upload the video. However, if you’ve done things like geotagged the image, or want to sync capture time or other information you have to do that on the Flickr website proper [Organize > Your Map & drag the video onto the photos space].
Setting the uploaded photograph to private lets you sync the metadata and keep a still image with the video without showing the reference photo to the world.
End Results – Easily Managed Published Video Collections
The extra step of taking a reference photograph along with my video clips allows for easy management of collections like this Little Nature Videos set on Flickr, complete with map!
This is one article of 52 I’ll be writing in year 2010 on web design, technology, photography and probably some other topics. Please let me know what you think of the project and the topics covered.

Comments Temporarily(?) Removed